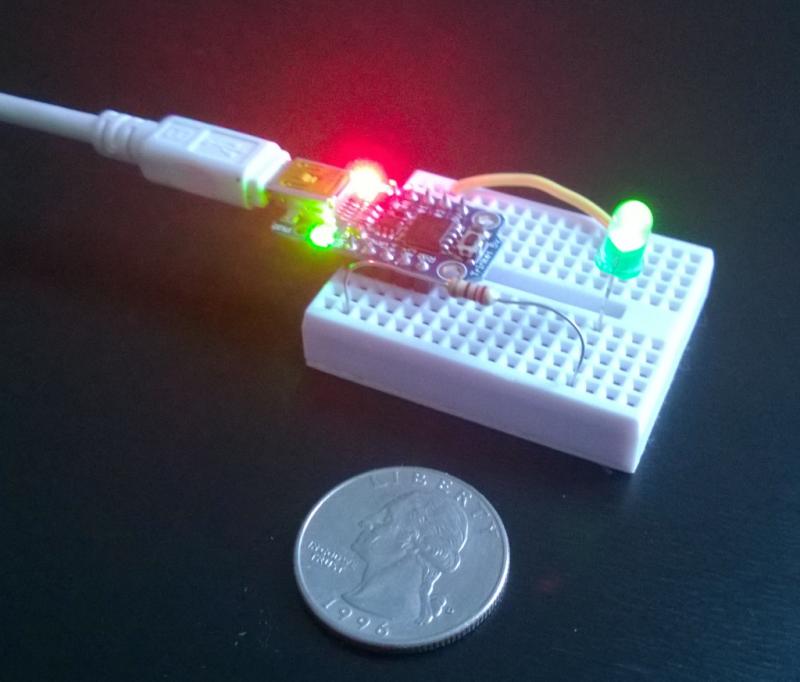
Arch Linux and Trinket
This is how I got the Adafruit Trinket to work with my Arch Linux.
Start
I have the latest Arduino IDE installed. You can get the latest IDE from Arduino.cc. As of this writing, it is version 1.6.5. If you have an older version, I recommend upgrading to the latest version. My particular setup is the IDE software is installed into a subdirectory called bin in my home directory.
/home/bac/bin/arduino
If you did not do the same, find out where the IDE is installed. This information will be needed later.
The Trinket used in this article is the Trinket 16Mhz or 5v version. You can obtain the Trinket at the Adafruit Store.
Needs
Download the following files into a temporary folder in your home directory.
- The Adafruit Arduino Boards file.
- The Adafruit Udev Rules.
The boards file identifies Adafruit's Arduino boards to the Arduino IDE. The udev rules file identifies Adafruit's Arduino boards as usb devices and allows a person belonging to the dialout group to work with the boards without being root.
Trinket Setup
This is where you need to know where the Arduino IDE files were installed. Depending on where the IDE was installed, root privaledges may be needed by using sudo.
Follow the copy file instructions in the README in the Adafruits Linux Setup Guide. I renamed the avrdude.conf to original-avrdude.conf before copying over Adafruit's version. I did not use the Easy Install Scripts.
Next, navigate to the where you downloaded the udev rules file, open the file with a text editor and make the following change. Change the GROUP setting to users.
From this:
SUBSYSTEM=="usb",ATTR{idProduct}=="0c9f",ATTRS{idVendor}=="1781",MODE="0660",GROUP="dialout"
To this:
SUBSYSTEM=="usb",ATTR{idProduct}=="0c9f",ATTRS{idVendor}=="1781",MODE="0660",GROUP="users"
After saving the changes and exiting the editor, as sudo, copy the udev rules file into /etc/udev/rules.d/ as 81-adafruit-trinket.rules.
To reload the udev rules, enter the following at a terminal.
$ sudo udevadm trigger
Setup is now complete.
Testing
From Adafruit's website on the Trinket:
Some computers' USB v3 ports don't recognize the Trinket's bootloader. Simply use a USB v2 port or a USB hub in between
Important: Make sure the USB port you are using is a version 2. The Trinket will not be recognized using a USB version 3 port.
Start up the Arduino IDE, in the Tools menu, set the board to Adafruit Trinket 16Mhz and the programmer to USBtinyISP. Type in the following code.
const int led = 1;

void setup() {
  // put your setup code here, to run once:
  pinMode(led, OUTPUT);
}

void loop() {
  // put your main code here, to run repeatedly:
  digitalWrite(led, HIGH);
  delay(1000);
  digitalWrite(led, LOW);
  delay(1000);
}
Plug the Trinket in with a USB cable. A green light will stay on and a red light will pulse. The code must be uploaded while the red light is pulsing, which times out after 10 seconds. If the red light stops, press the button at the end of the Trinket to start the red light pulsing again. While the red light is pulsing, press the upload code button in the Arduino IDE. If everything goes well, you will not see any red messages.
Once the code is uploaded, the red light on the Trinket should start blinking.
End
Here is an image of the Trinket. For this image, I also hooked up an led to pin 1. The quarter is for scale.
